AI Agent 101: How to Build an AI Image Creator with Multi-Agent Orchestration
A practical Series 101 guide to building a small AI image creator agent: map the workflow, split it into specialist agents, create the folder structure, generate images, critique outputs, control cost, and improve the system through iteration.

Most people use AI image tools in the same way: open ChatGPT, Gemini, Krea, Midjourney, or another image generator; type a prompt; wait; regenerate; tweak the prompt; repeat. That works if you only need one image. But if you are building a content brand, a design workflow, a creative tool, or an internal media pipeline, prompting one image at a time quickly becomes messy.
You do not just need an image. You need a system.
That was the problem I ran into while creating visuals for JudyArcade. I wanted images that consistently felt like the same world: retro arcade, neon, glossy, cinematic, playful, tech-native, and not corporate. I also wanted to stop rewriting long prompts manually every time. So I built a small AI image creator agent. Not a full Krea clone, not a Midjourney competitor, and not a giant startup — just a focused workflow that turns an idea into a visual concept, then into a prompt, then into an image, then into a critique, and finally into a saved output or retry.

What Are We Actually Building?
A normal image generator follows a simple path: prompt → image. An AI image creator app follows a longer but more useful path: brief → brand → idea → prompt → image → critique → final.
The difference is important. When you use a normal image model, you are responsible for writing the perfect prompt. When you build an image creator app, the app helps you think. The user should be able to type something simple like “Create a cover image for an article about building an AI image agent,” and the system should turn that into a detailed visual direction, such as: “A glossy neon arcade cabinet transforms glowing prompt tokens into generated image worlds on its CRT screen, with dual joysticks, cyan and orange buttons, glass reflections, magenta cabinet edges, and cinematic synthwave lighting.”
That middle step is the product. The image model is only one part of the system. The real value is the workflow around it.
First, Draw the Map
The AI image creator map
A simple build map for turning an article idea into a generated image using specialist agents.
What does the user want?
What should it feel like?
What should the image show?
How should we describe it?
Generate the first version.
Score, save, or retry.
What does the user want?
What should it feel like?
What should the image show?
Score, save, or retry.
Generate the first version.
How should we describe it?
Before writing code, draw the system on paper. Do not start with the prompt. Start with the workflow.
Brief → Brand → Idea → Prompt → Image → Critique → FinalEach step has one clear job. The brief captures what the user wants. The brand layer defines what the image should feel like. The idea layer decides what the image should actually show. The prompt layer describes that idea clearly enough for the image model. The image layer generates the result. The critique layer decides whether the result is good enough. The final step saves the image or triggers a retry.
This map matters because it tells you what each AI agent should be responsible for. You do not want one giant agent doing everything. You want a few small agents, each with a specialised job: a Brand Agent defines the style, a Visual Idea Agent creates the visual metaphor, a Prompt Builder writes the final image prompt, an Image Generator creates the image, and a Critic Agent evaluates the output.
The MVP Architecture
Once you have the map, the architecture becomes simple. You need a place to collect the user brief, a brand layer, a visual idea agent, a prompt builder, an image generator, a critic agent, and a save/retry system. The first version does not need accounts, payments, collaboration, advanced editing, or a huge database. It just needs to turn one idea into one good image through a repeatable process.
The workflow looks like this:
User enters article idea
↓
App loads the brand rules
↓
Visual Idea Agent creates concrete concepts
↓
Prompt Builder writes the final image prompt
↓
Image Generator creates the image
↓
Critic Agent evaluates it
↓
App saves it or retries
Step 1: Decide What Each Agent Does
A simple AI image creator app can use five specialised agents or modules. Each one has one job.
| Agent | Question it answers | What it outputs |
|---|---|---|
| Brand Agent | What should this image feel like? | Structured style rules: colours, mood, visual identity, things to avoid |
| Visual Idea Agent | What is the image actually showing? | Concrete visual metaphors and scene ideas |
| Prompt Builder | How do we describe this clearly to the image model? | A detailed final image-generation prompt |
| Image Generator | Can we turn the prompt into an image? | A saved image file |
| Critic Agent | Is the image good enough? | Score, feedback, pass/fail decision, retry suggestions |
For JudyArcade, the Brand Agent might output something like: “premium retro arcade, neon cyan/magenta/purple/orange, glossy physical machines, cinematic lighting, playful tech-native mood, no fake text, no logos, not pixel art.” This gives the rest of the system taste. Without it, every image can drift into a different style.
The Visual Idea Agent is the creative director. It turns an abstract article idea into a concrete visual metaphor.
For example, “How to build your own AI image creator app” could become “a neon arcade cabinet transforms glowing prompt tokens into generated image worlds.” An even stronger version would be: “A glossy magenta arcade cabinet displays a synthwave space shooter. A red starfighter flies over a pink wireframe landscape toward a sliced yellow sun, while glowing UFOs move across a starry sky. The control panel has dual joysticks and cyan/orange buttons.” This is much better because it gives the image model actual objects, colours, and composition.

Step 2: Turn the Agent Map Into a Folder Map
After you know the workflow, create a project structure that mirrors the agent map. You do not want one giant file doing everything. A clean AI image creator app separates configuration, brand rules, specialist agents, prompt templates, reference assets, generated outputs, and the user interface.
ai-image-creator/
│
├── app.py
├── config.py
├── requirements.txt
├── .env
│
├── agents/
│   ├── brand_agent.py
│   ├── visual_idea_agent.py
│   ├── prompt_builder.py
│   ├── image_generator.py
│   ├── critic_agent.py
│   └── image_creator_agent.py
│
├── prompts/
│   ├── brand_prompt.py
│   ├── visual_idea_prompt.py
│   ├── image_prompt_template.py
│   └── critic_rubric.py
│
├── assets/
│   ├── brand_guide.png
│   ├── examples/
│   │   ├── good/
│   │   └── bad/
│   └── references/
│
├── outputs/
│   ├── images/
│   ├── prompts/
│   ├── critiques/
│   └── metadata/
│
└── ui/
    └── streamlit_app.py
In simple terms: prompts/ defines the instructions, agents/ performs the tasks, assets/ provides references, outputs/ stores the results, ui/ makes it usable, config.py controls the settings, and app.py starts the app.
Step 3: Build the Configuration First
Start with the settings before writing any agent logic. The configuration layer stores the API key, model names, output paths, quality threshold, retry limit, and image size.
import os
from pathlib import Path
from dotenv import load_dotenv

load_dotenv()

ROOT_DIR = Path(__file__).resolve().parent
OUTPUT_DIR = ROOT_DIR / "outputs"
ASSETS_DIR = ROOT_DIR / "assets"

OPENAI_API_KEY = os.getenv("OPENAI_API_KEY")

TEXT_MODEL = "gpt-4o-mini"
IMAGE_MODEL = "gpt-image-1"

QUALITY_THRESHOLD = 4.2
MAX_RETRIES = 1

OUTPUT_DIR.mkdir(exist_ok=True)
ASSETS_DIR.mkdir(exist_ok=True)
Then create a private .env file:
OPENAI_API_KEY=your_api_key_hereDo not put API keys directly inside your code. The code reads the key from .env, while .env stays private.
Step 4: Build the Brand Layer
The brand layer is the app’s taste layer. For JudyArcade, the brand direction is roughly: premium retro arcade aesthetic, neon cyan, electric blue, magenta, purple, emerald and orange, glossy arcade machines, CRT glow, joysticks, glowing buttons, high-contrast cinematic lighting, tech/startup/AI energy, no fake text, no random logos, not corporate, not generic stock imagery, and not pixel art.
In app form, you can store it like this:
BRAND_STYLE = """
Create premium retro arcade visuals for a tech/startup blog.

Style:
- high-resolution, cinematic, glossy
- neon cyan, magenta, purple, orange, emerald
- arcade cabinets, CRT glow, buttons, joysticks
- playful, sharp, internet-native

Avoid:
- fake text
- random logos
- low-resolution game screenshots
- generic corporate AI imagery
- pixel art
"""
Without this layer, your images will drift. One image might look cyberpunk, the next might look like a children’s cartoon, and the next might look like a corporate SaaS landing page. The brand layer keeps the system consistent.

Step 5: Build the Visual Idea Agent
The Visual Idea Agent turns the article idea into visual metaphors. Build this before the final prompt builder because the visual idea is the foundation. If the idea is weak, the final image will probably be weak too.
For example, the agent can take “How to build your own AI image creator app” and return:
{
  "title": "Prompt Arcade Engine",
  "metaphor": "An arcade machine turns simple prompts into finished images.",
  "detailed_visual_prompt": "A glossy neon arcade cabinet transforms glowing prompt tokens into vivid image worlds on its CRT screen."
}
A simple Visual Idea Agent prompt could look like this:
VISUAL_IDEA_AGENT_PROMPT = """
You are a visual idea agent for a retro arcade tech blog.

Turn the user's article idea into 2 concrete visual metaphors.

Avoid abstract words like:
- dashboard
- interface
- workflow
- AI system
- digital platform

Prefer physical arcade-world objects:
- arcade cabinet
- claw machine
- capsule machine
- pinball machine
- racing cabinet
- control console
- robotic arm
- glowing screen
- joysticks
- buttons
- reflective floor

Each idea should include:
1. one main arcade object
2. one vivid scene shown on the screen or inside the machine
3. specific colours and lighting
4. physical details
5. no readable text

Return JSON with:
- title
- metaphor
- detailed_visual_prompt
"""
This agent is cheap to test because it only generates text. You can run it many times without generating images, which lets you check whether the creative direction is strong before spending image credits.
Step 6: Build the Prompt Builder
Only now should you write the final image prompt logic. The prompt builder takes the brand style, visual idea, user brief, and constraints, then assembles the final prompt.
def build_image_prompt(user_brief, visual_idea, brand_style):
    return f"""
Create a premium 16:9 blog hero image.

User brief:
{user_brief}

Brand style:
{brand_style}

Visual idea:
{visual_idea}

Hard requirements:
- one strong hero object
- premium retro arcade aesthetic
- glossy physical materials
- cinematic neon lighting
- clear central focal point
- clean space for title overlay
- no readable text
- no logos
- not pixel art
"""
This is why prompting should not be the first step. The final prompt should be assembled from the previous layers. It should not come from nowhere.
Step 7: Build the Image Generator
The Image Generator takes the final prompt, calls the image model, saves the image, and returns the image path.
def generate_image(prompt):
    result = image_model.generate(
        prompt=prompt,
        size="1536x1024",
        quality="high"
    )

    image_path = save_result(result)
    return image_path
This is the first expensive step, so do not run it automatically too early. A good app should first show the generated visual ideas and ask: “Generate images now?” This approval step is simple, but very important.
Step 8: Build the Critic Agent
The Critic Agent checks whether the generated image is good enough. It should evaluate the image against a clear rubric, not just ask whether the image “looks nice.”
CRITIC_RUBRIC = """
Score the image from 1 to 5 on:
- brand fit
- article relevance
- visual quality
- composition
- brightness
- technical cleanliness

Deduct points for:
- fake text
- random logos
- too much darkness
- generic imagery
- weak focal point

Return JSON with:
- overall_score
- passed
- feedback
- recommendations
"""
The critic should output structured feedback:
{
  "overall_score": 4.4,
  "passed": true,
  "feedback": "Strong visual metaphor and good neon palette.",
  "recommendations": [
    "Leave more negative space next time"
  ]
}
Without evaluation, you are just generating images and hoping. With evaluation, the system can decide whether to save, retry, improve the prompt, or flag the image for human review.

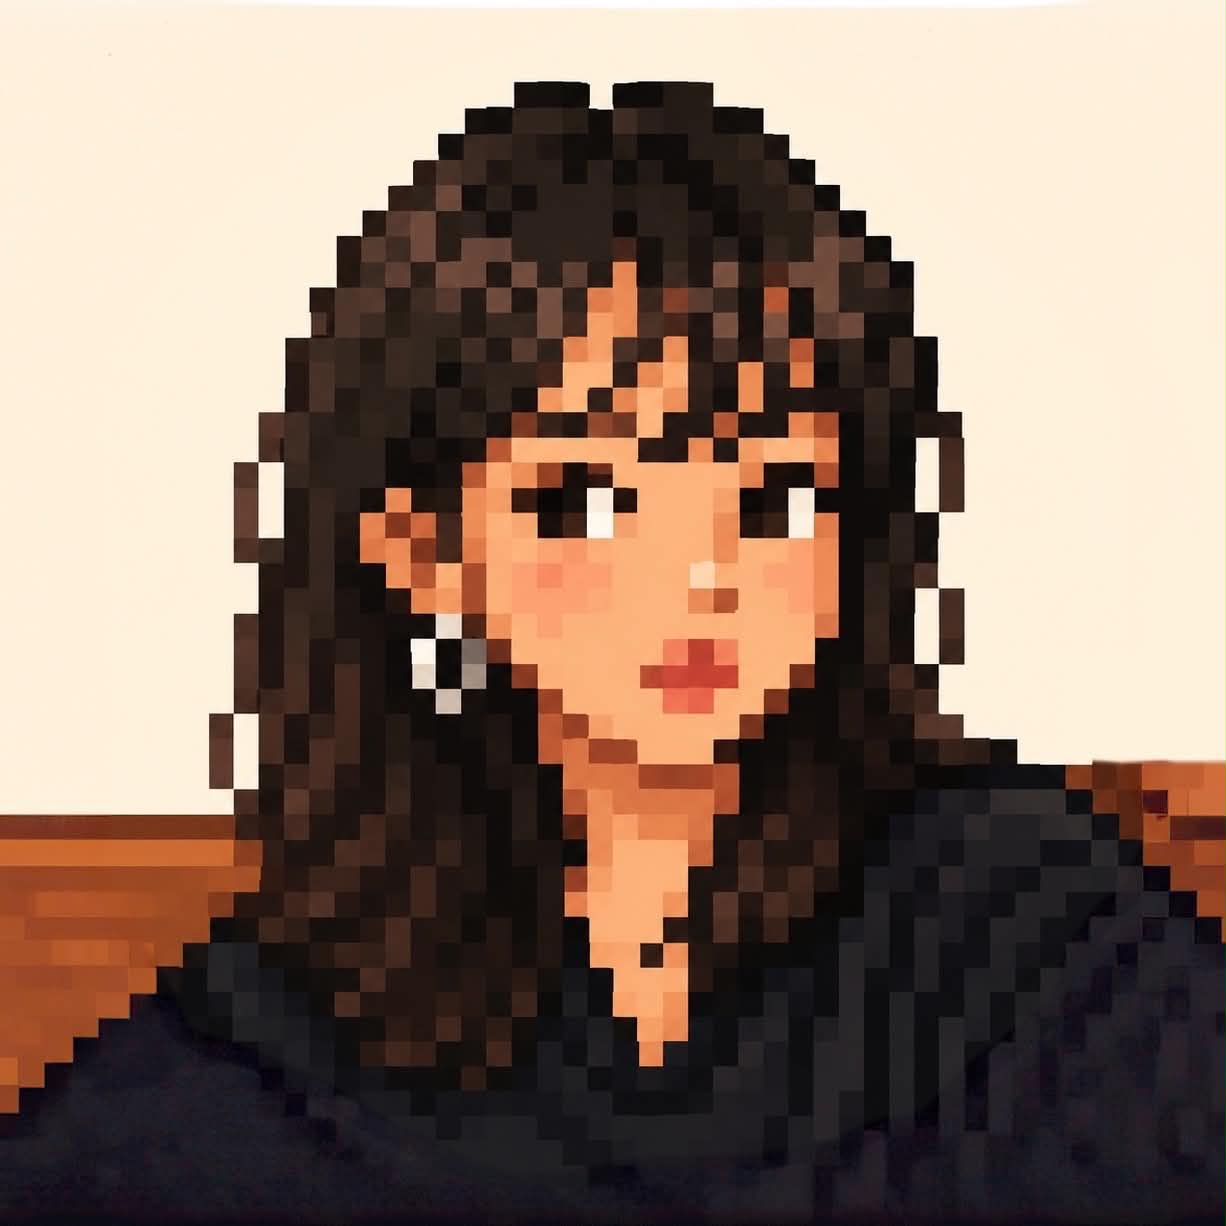
This is one of the very first version my agent created, ugly and boring.
Step 9: Build the Orchestrator
The orchestrator connects everything and runs the full workflow: receive the user brief, load the brand style, generate visual ideas, show concepts, ask for approval, build the final prompt, generate the image, evaluate it, then save or retry.
def run_image_creator(user_brief):
    brand_style = load_brand_style()
    visual_ideas = create_visual_ideas(user_brief, brand_style)

    show_ideas_to_user(visual_ideas)
    approved = ask_user_to_continue()

    if not approved:
        return

    for idea in visual_ideas:
        prompt = build_image_prompt(user_brief, idea, brand_style)
        image_path = generate_image(prompt)
        critique = evaluate_image(image_path, user_brief, prompt)

        if critique["passed"]:
            save_final_result(image_path, prompt, critique)
        else:
            retry_or_save_for_review(image_path, prompt, critique)
This is the real agentic workflow. The intelligence is not one magical model call. The intelligence is how the app moves between specialised steps.
Step 10: Save Everything
Do not only save the image. Save the full run: image file, original brief, visual idea, final prompt, critic score, feedback, timestamp, and model used.
{
  "user_brief": "How to build your own AI image creator app",
  "visual_idea": "A neon arcade cabinet turns prompt tokens into image worlds",
  "final_prompt": "Create a premium 16:9 blog hero image...",
  "image_path": "outputs/images/image_001.png",
  "score": 4.4,
  "model": "image model name",
  "created_at": "2026-06-21"
}
This turns random generation into a creative dataset. Over time, you learn which prompts worked, which concepts failed, which images matched the brand, and which visual metaphors are worth repeating.
Step 11: Add a Simple Interface
The first version can run in the terminal, but eventually you want a UI. A simple interface should have a text box for the article idea, a button to generate visual ideas, concept previews, a button to generate the image, image preview, critic score, retry button, save button, and “use as hero image” button.
Input:
[Article idea]

Button:
[Generate visual ideas]

Output:
Concept 1
Concept 2

Button:
[Generate image]

Output:
Image preview
Critic score
Feedback

Buttons:
[Retry]
[Save]
[Use as hero image]
The UI does not need to be fancy. It just needs to make the workflow easier to use. The code is the engine; the interface is what makes it feel like a product.
The Try-and-Fix Journey
The most useful part of this experiment was not getting a perfect image immediately. It was seeing how the app improved. At first, the images were technically on-theme, but not good enough. They looked like dark arcade rooms, generic cabinets, too much black space, and not enough clear metaphor.
The issue was not only the image model. The issue was the system design. At the beginning, I was asking for images too directly: article idea → image prompt → image. That was too shallow. The app needed one more thinking layer, so I added a Visual Idea Agent. The workflow became: article idea → visual idea → image prompt → image.
That changed the quality. Instead of asking the model for an “AI creative studio” or “workflow dashboard,” I started asking for physical, specific scenes: neon magenta arcade cabinet, red starfighter, pink wireframe landscape, sliced yellow sun, dual joysticks, orange and cyan buttons. That worked much better.
The lesson: do not ask the model for a concept. Give it a scene.
| Problem | What it looked like | What I changed |
|---|---|---|
| Too generic | Random arcade cabinets with no story | Added the Visual Idea Agent to create stronger metaphors |
| Too dark | Black-heavy arcade rooms | Added brightness and “clear focal point” rules |
| Too abstract | Dashboards, prompt cards, fake UI panels | Replaced UI language with physical arcade objects |
| Too much fake text | Random letters and unreadable signage | Added “no readable text, no letters, no logos” constraints |
| Weak article relevance | Nice image, but not clearly about the topic | Added article relevance to the critic rubric |
| Too expensive to test casually | High-res image calls added up quickly | Added approval before generation and limited retries |
As you can see below, the app improved when I stopped treating prompts as one-off instructions and started treating them as a pipeline: concept, prompt, generation, critique, retry. Super cool :D

This try-and-fix loop is the real build process. You do not build the perfect AI app in one go. You build a rough version, see where it fails, then add the missing agent or rule. For this project, the missing piece was the Visual Idea Agent.
The Cost Reality
One thing I underestimated: running your own image agent can get expensive very quickly. Text generation is usually manageable because you can test many ideas cheaply. Image generation is different. Every high-resolution image costs money. If your app creates two concepts, generates two images, evaluates them, retries one or two, and saves multiple versions, the cost can add up faster than expected.
A simple run is not one model call. It can be a whole mini-pipeline: generate two visual ideas, build two image prompts, generate two high-resolution images, evaluate both images, retry one failed image, and evaluate again. The expensive part is the image generation step.
This made me understand something important: image creator companies are not just selling “AI images.” They are managing a cost structure. They need to think about model cost, GPU or API cost, free trial abuse, failed generations, regenerations, upscaling, storage, bandwidth, user support, subscription pricing, and credit systems. This is why many image platforms use credits, generation limits, watermarks, slower queues, or paid tiers.
From the outside, it feels like users are just typing prompts. From the inside, every click can trigger real compute cost. If users expect unlimited high-resolution generations for a low monthly fee, the economics can get painful fast.
This is also why your own app should have cost-control rules from day one: show visual ideas before generating images, ask for confirmation before paid generation, limit retries, use lower quality for testing, use high quality only for final outputs, save prompts so you do not regenerate the same idea twice, and store good examples for reuse.
The product lesson is simple: do not treat image generation as free. Design the workflow around cost.
Build Your Own vs Krea / Midjourney / ChatGPT
Why build this at all? Why not just use Krea, Midjourney, ChatGPT, Gemini, or another image tool? The answer depends on what you need.
| Option | Best for | Pros | Cons |
|---|---|---|---|
| Build your own image agent | Repeatable branded workflows, content systems, portfolio projects, learning how AI products work | High brand control, custom critic, custom workflow, saved metadata, approval before generation, can connect to CMS later | Takes effort, debugging is annoying, high-resolution generation can get expensive, image quality depends on the model, needs a proper interface |
| Use Krea or Midjourney | Fast beautiful images, creative exploration, visual moodboarding, one-off assets | Great interface, strong visual quality, fast iteration, less technical stress | Less workflow control, harder to enforce your own rubric, manual selection and saving, less programmable |
| Prompt ChatGPT or Gemini directly | Quick one-off images, brainstorming, casual image generation, simple creative tasks | Easy, fast, no setup, flexible | Less repeatable, no structured critic, no custom pipeline, manual process, harder to build a production workflow |
The three routes are not really competitors. They are different answers to different jobs. If you want fast beauty, use Krea or Midjourney. If you want quick experimentation, prompt ChatGPT or Gemini (I believe Gemini’s Nano Banana Pro and VEO can give you even better image quality than Open AI API). If you want a repeatable branded workflow, build your own image agent.
Tool Comparison Snapshot
Relative scores out of 10 across product and workflow dimensions.
- Build Your Own
- Krea or Midjourney
- ChatGPT or Gemini
I’m trying to summarize here for you the trade-offs across brand control, ease of use, workflow automation, image quality, cost predictability, learning value, and production readiness.
Three practical ways to create AI images, depending on whether you want control, speed, or ease.
Build Your Own Agent
Best for branded workflows and learning how AI products work.
- Best for
- Branded workflows
- Control
- High
- Setup pain
- High
- Learning value
- Very high
- Cost risk
- Medium-high
Krea or Midjourney
Best for fast beautiful images and visual exploration.
- Best for
- Fast beautiful images
- Control
- Medium
- Setup pain
- Low
- Learning value
- Medium
- Cost risk
- Medium
ChatGPT or Gemini
Best for quick one-off prompting and casual experiments.
- Best for
- One-off prompting
- Control
- Low-medium
- Setup pain
- Very low
- Learning value
- Medium
- Cost risk
- Low-medium
The quick version is simple: building your own agent gives you the most control and learning value, but it also creates the most setup pain and cost risk. Krea or Midjourney are better for fast beautiful visuals. ChatGPT or Gemini are best for quick one-off experiments.
The Real Lesson
The goal is not to beat Krea or Midjourney. The goal is to understand what sits underneath them. Once you build even a tiny image creator app, you start seeing the system: input, planning, generation, evaluation, retry, and output.
That pattern applies far beyond images. It is how research agents work, how writing agents work, how coding agents work, and how AI products are built. Image generation is just the fun entry point.
The future is not just people prompting models. The future is people building workflows around models. And once you understand that, you can build much more than an image generator.
Update: Some of you texted me asking for the starter kit, so here you go. But please stay on the post if you want to see the practical case of how I built mine :))
Starter Kit
A clean folder you can use to build your own AI image creator app.